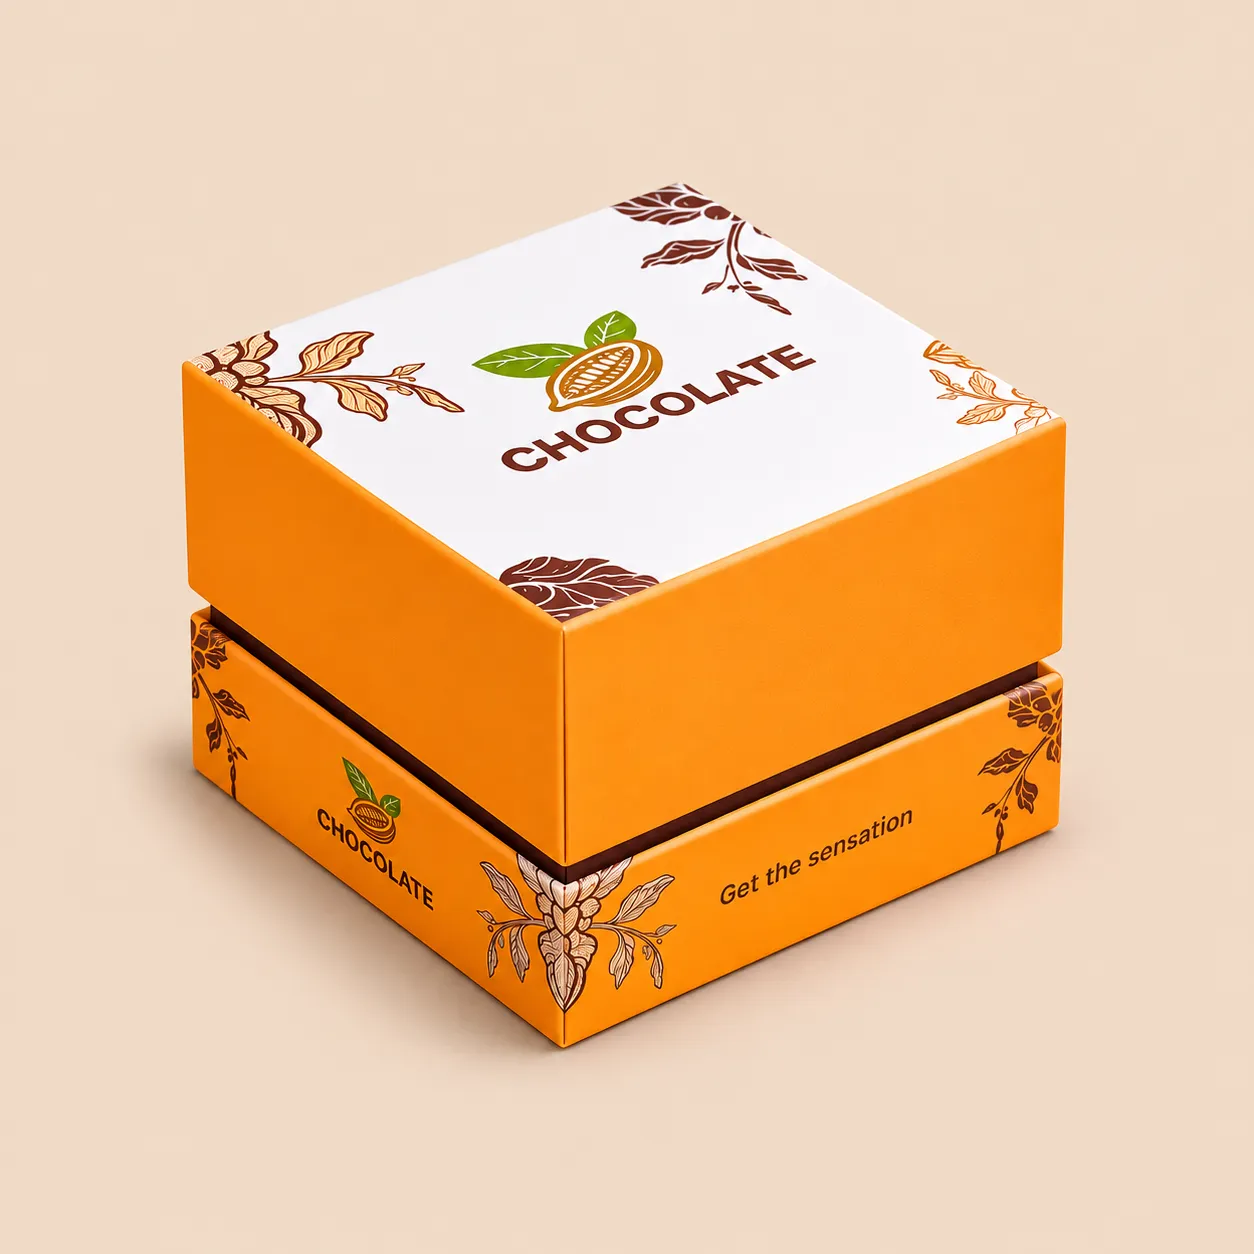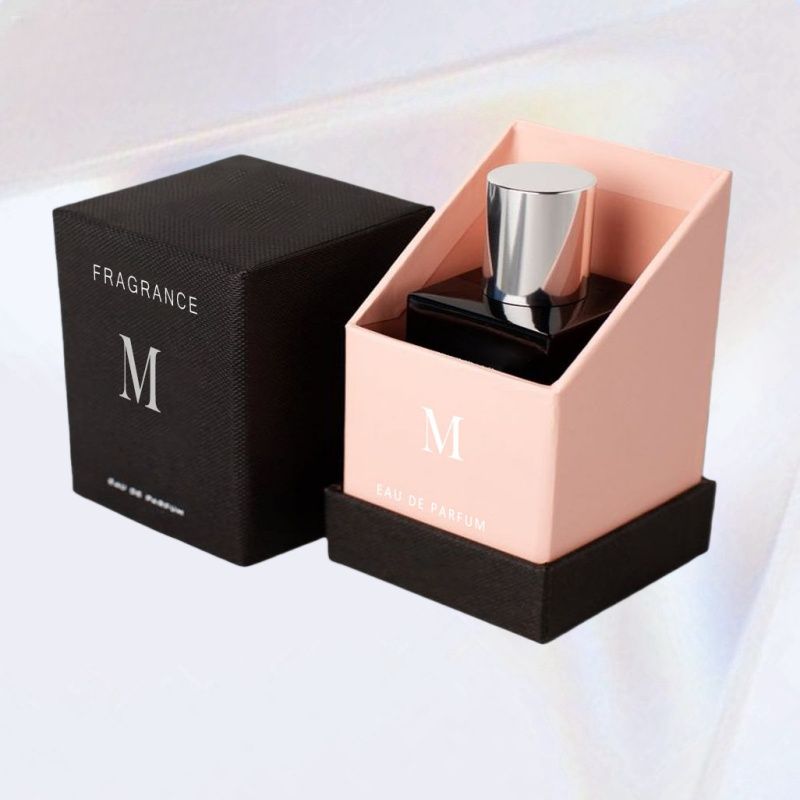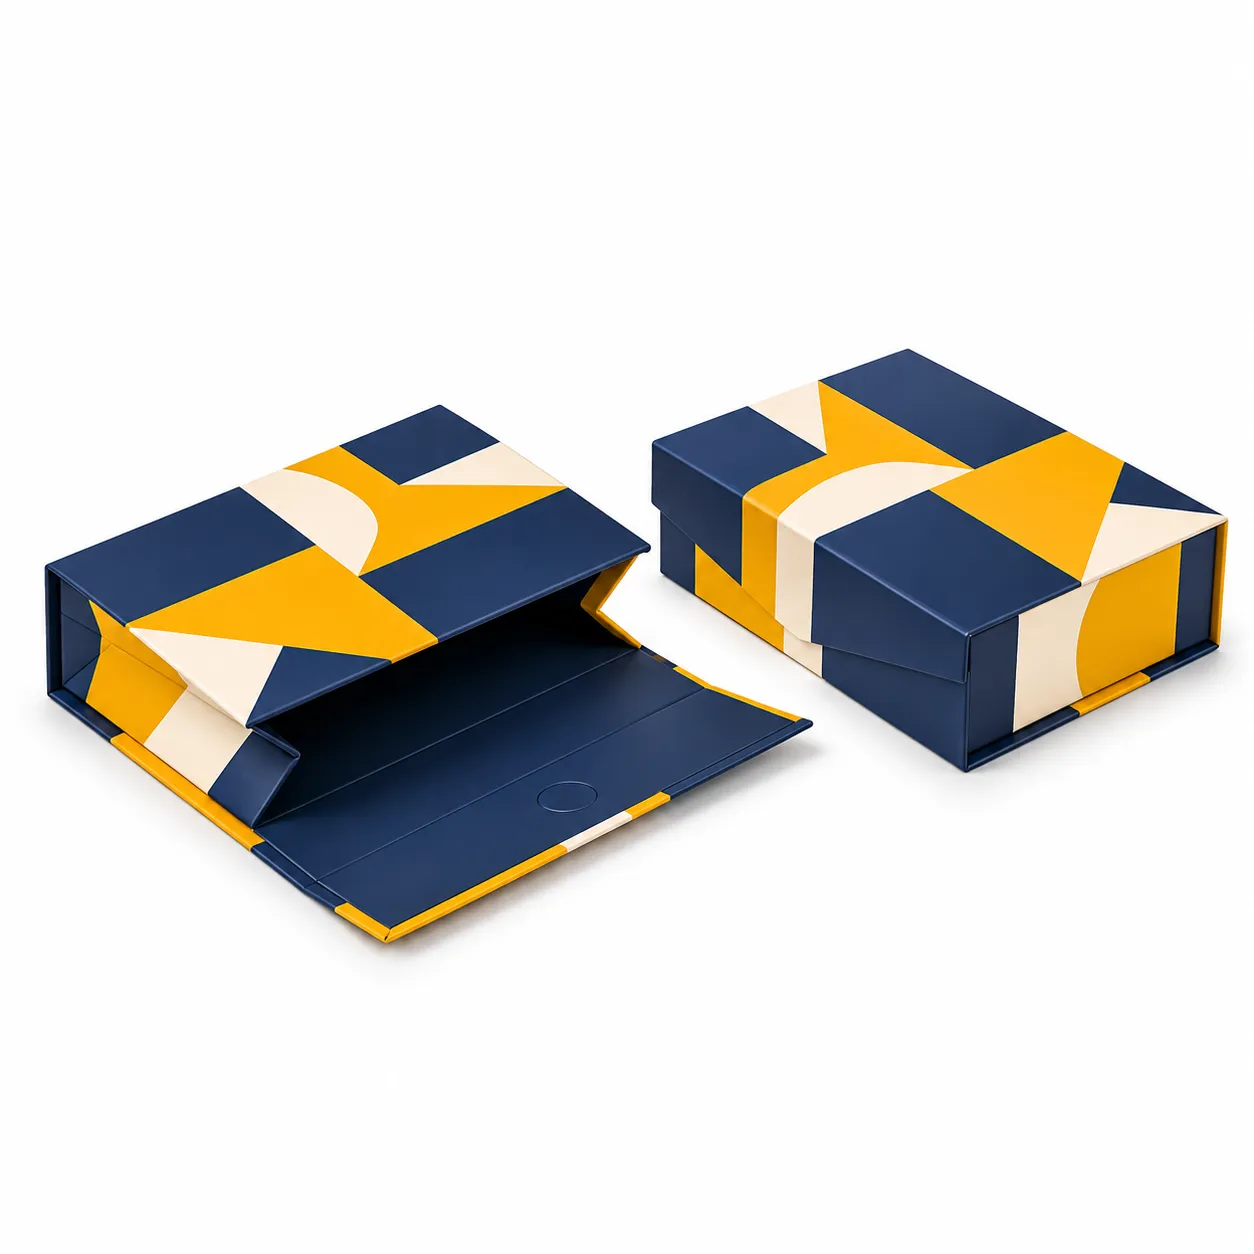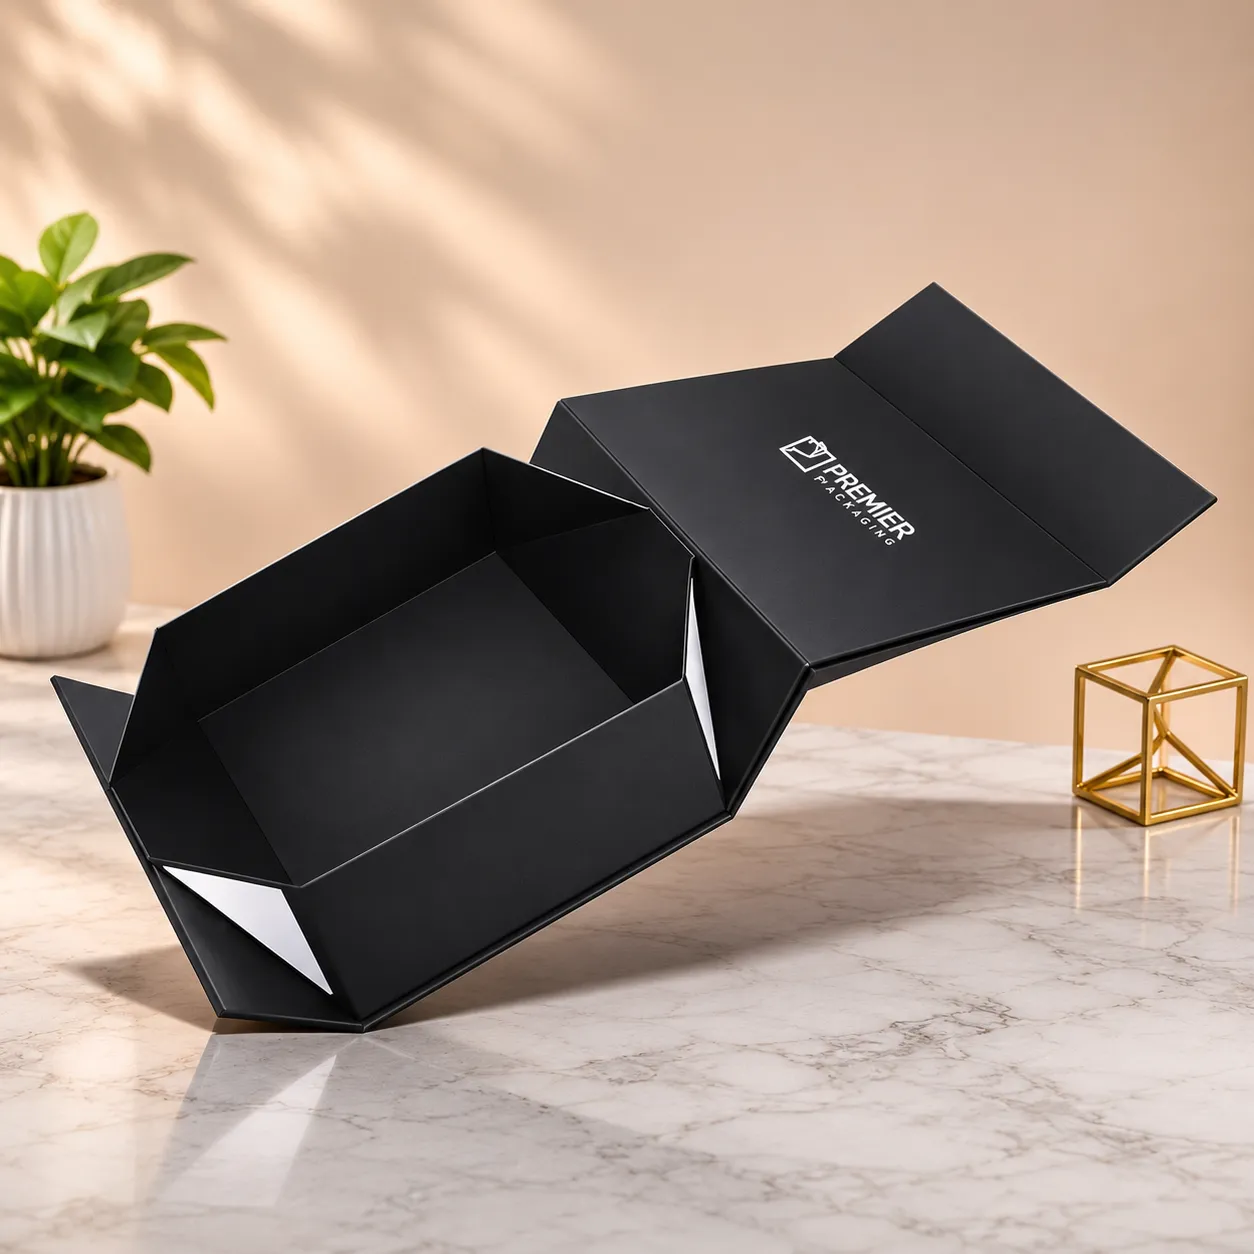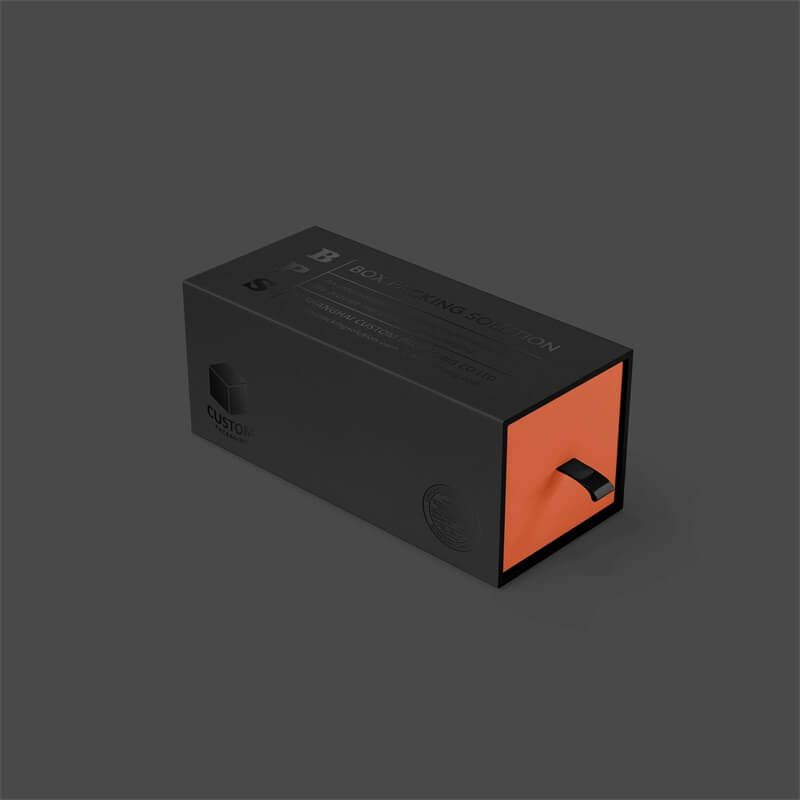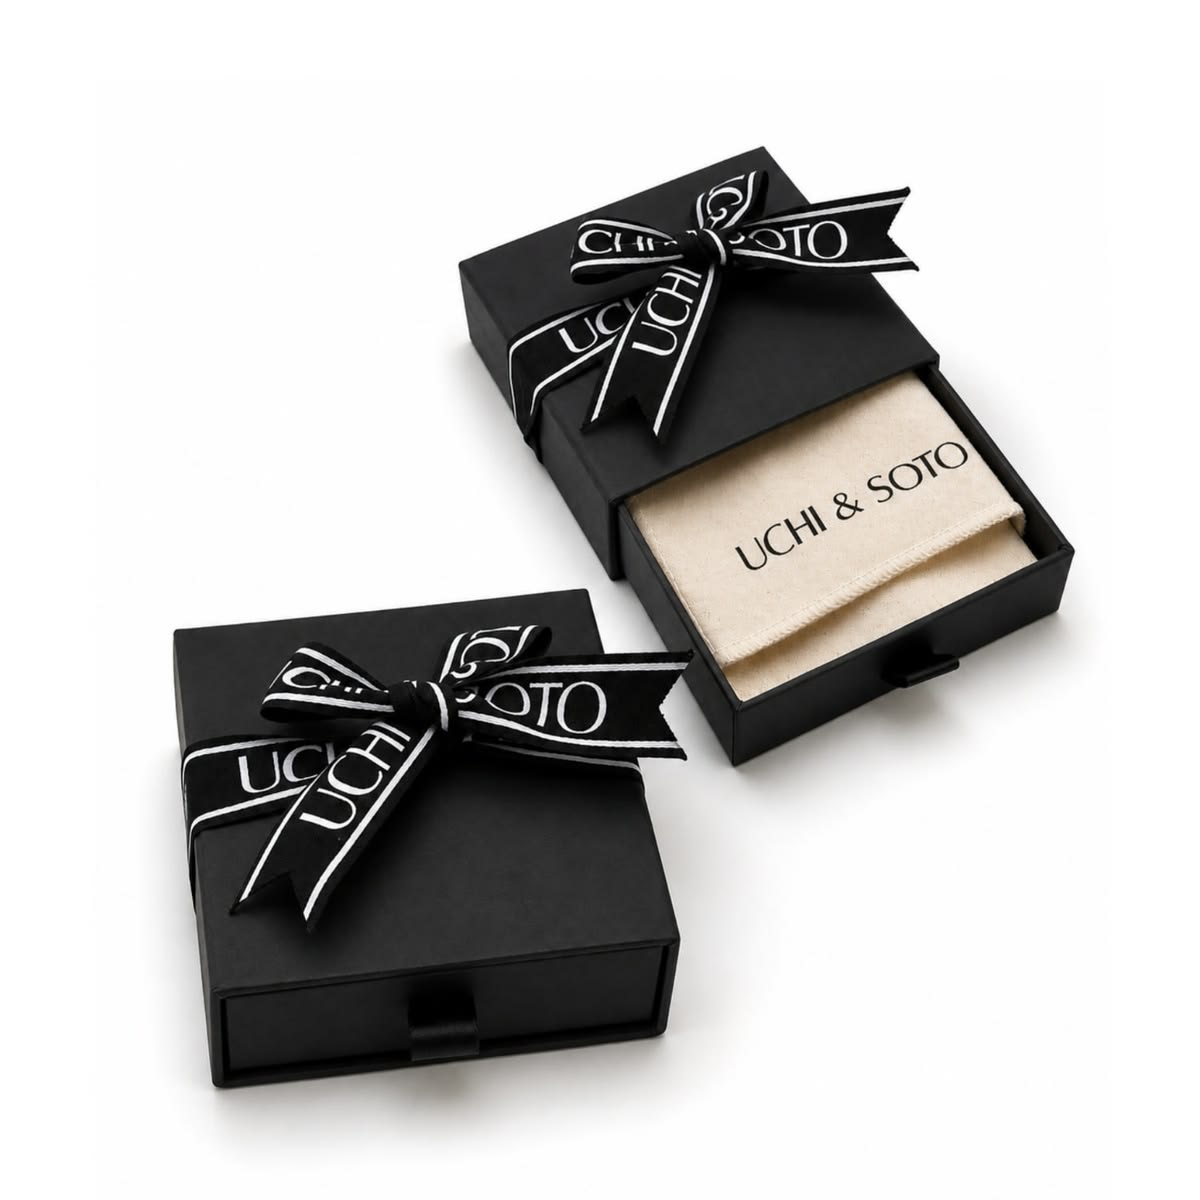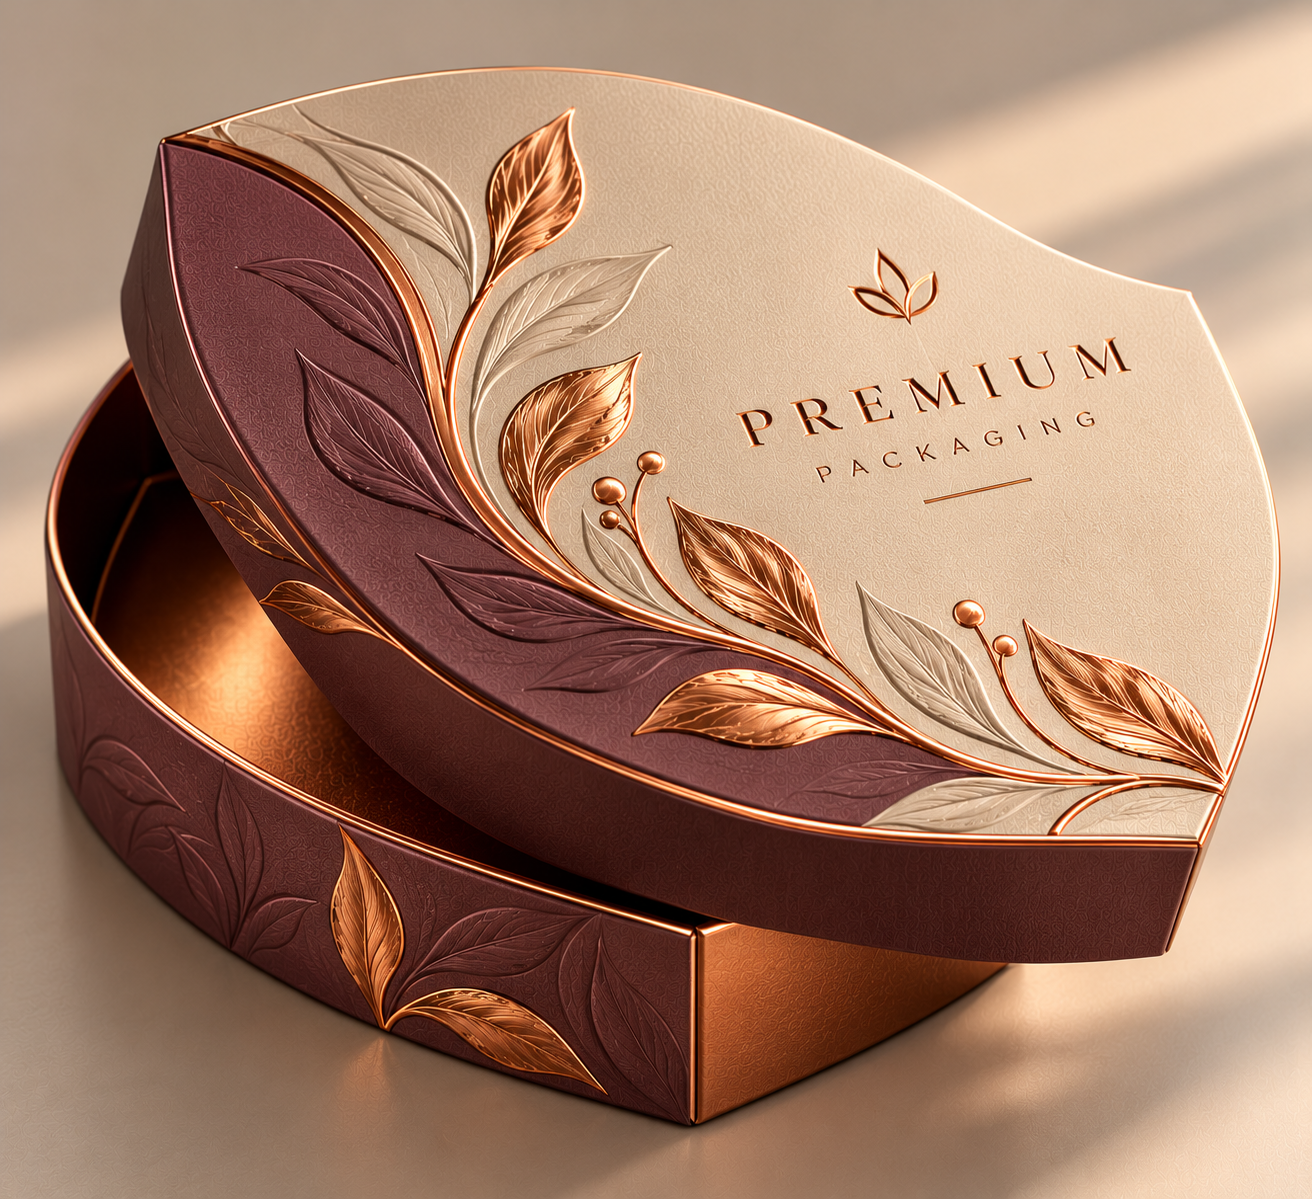

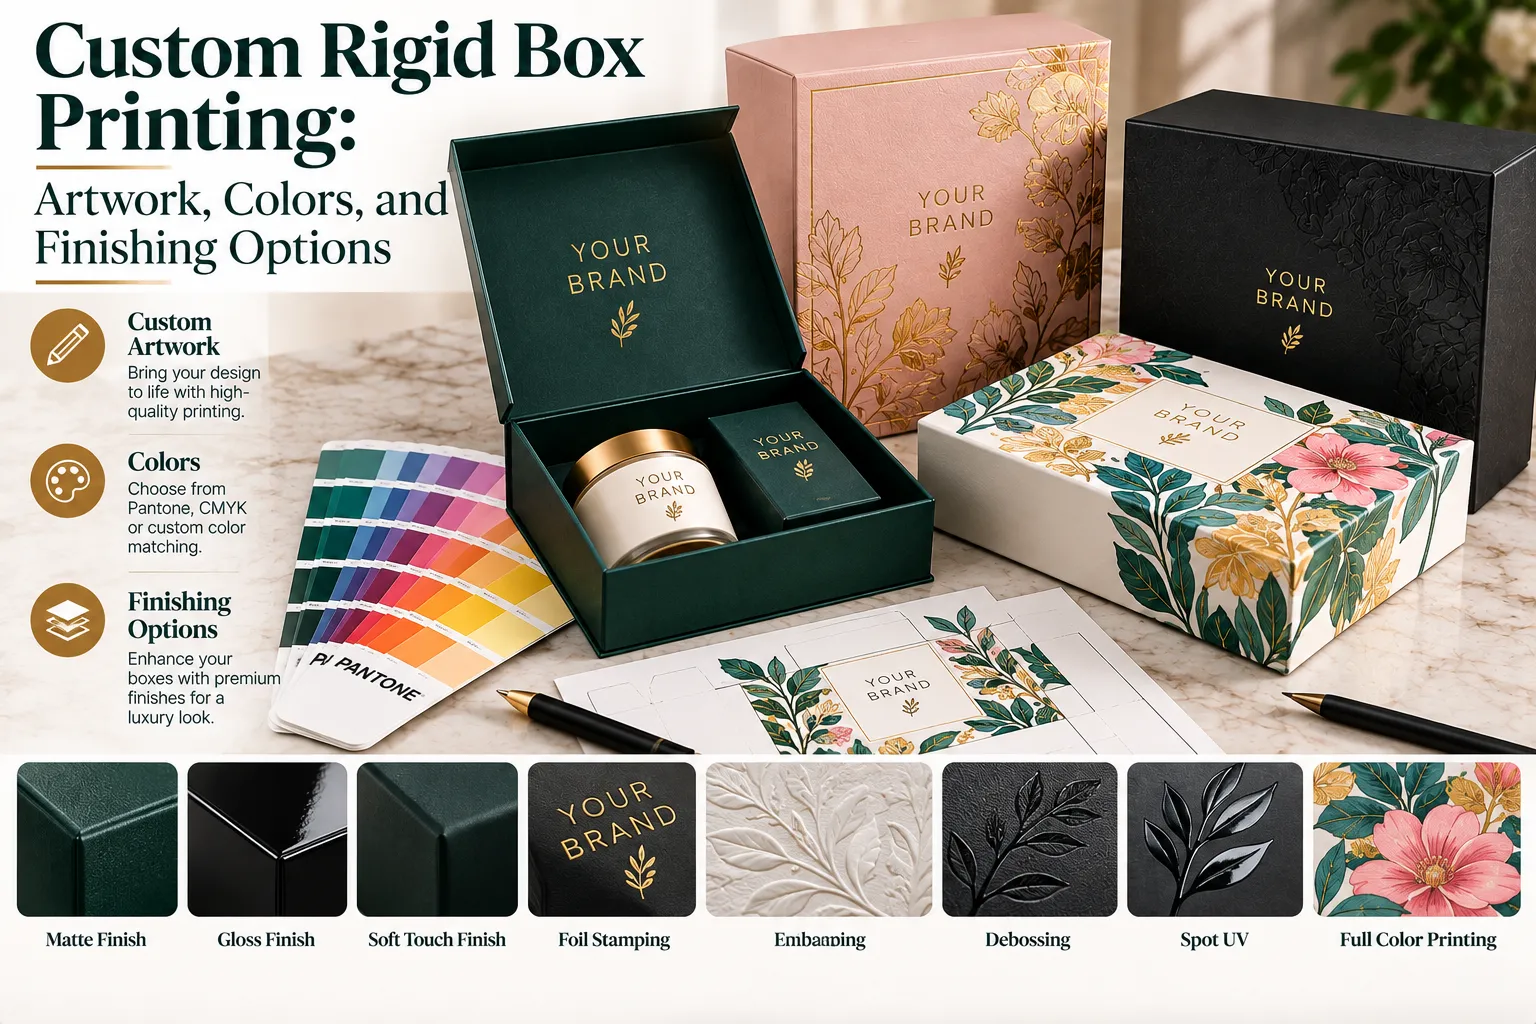









Custom rigid box printing happens on the paper used to wrap the box, not the cardboard itself. The art work will be printed in full color on the wrap, which is later wrapped around the rigid chipboard or greyboard core and then finished with foil stamping or spot UV. Three key components of success include high quality print ready artwork, proper color expectations, and proofing.
How Printing Works on a Rigid Box
The wraps go round corners and into the top rim, so your art needs to take this folding into account. A design that appears to be perfectly centered on a file can be slightly off when it folds over a 2″ side wall. This is why rigid box printing designs are based on a die line that corresponds exactly to the box size.
The paper you select will impact how the ink looks. A stark white coated paper makes colors appear clearly, while textured or colored specialty paper impacts the coloration of any art printed on it. The blog on rigid box materials and paper wraps describes how each material reacts.
Prepare Print-Ready Packaging Artwork
Printing issues often arise from the document itself. The following is a list of typical criteria for preparing package graphics artwork:
- Vector logos. You should provide your logo in an AI, EPS, or PDF format containing vectors.
- High-resolution images. The photos and textures you use should have a resolution of 300 dpi at their printing size.
- CMYK color mode. Documents prepared in the RGB format, intended for screen use, may change after conversion to CMYK.
- Bleed and wrap tolerance. Background color and patterns should extend beyond the crop lines to ensure that no white border appears after wrapping.
- Textured fonts. Fonts need to be turned into outlines or provided in font files.
- Individual finish layers. Each finish type (foiling, spot UV, and embossing) should be in separate layers and should be in pure black color.
The exact specifications depend on the box type and finish, and we recommend you double-check the specifications with us before you finalize your files. We will be happy to review your files and make sure they meet our requirements free of charge. To find out all about artwork and proof approval, take a look at our blog post How to Order Custom Rigid Boxes: Artwork to Final Delivery.
Plan Logo Rigid Box Printing and Placement
It is better to be subtle when you print a logo on a rigid box. You need only one logo placed in the right place rather than logos printed on all box panels. Possible positions for a logo are:
- Centered on the lid. This traditional option for rigid boxes with lids because the first surface that a customer sees is a lid.
- On the front flap. The position of the logo for magnetic closure gift boxes is where the customers’ fingers go when they want to open them.
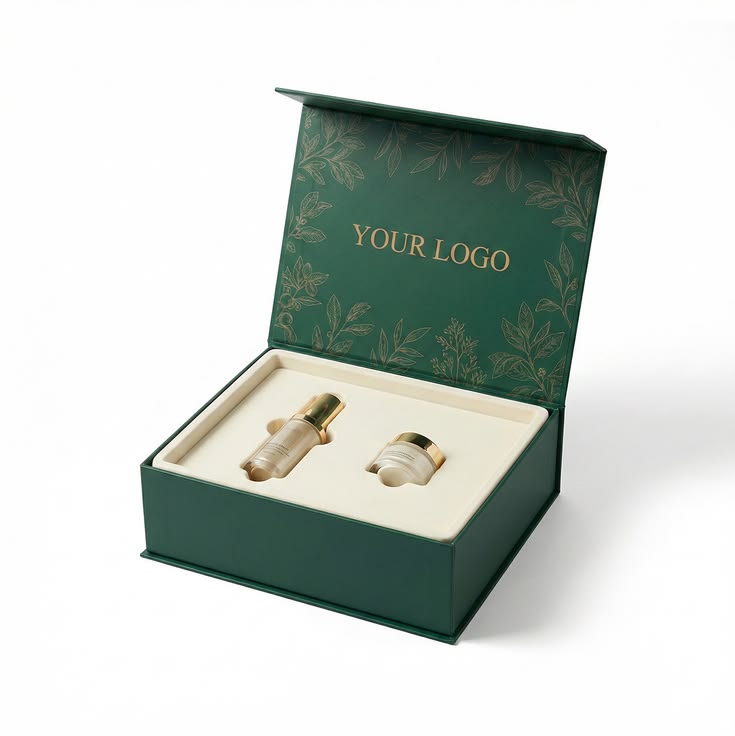
- Inside the lid. This location includes the printing of a logo or message that will be seen only when you open the box.
The logo should be placed within the designated safe area in the dieline or it may bleed over to the next panel.
Color Matching and Color Considerations
Color is when expectations do not meet what actually gets printed.
Screens are not like paper. A vibrant digital blue will print a bit less vibrant, particularly when printing on uncoated or textured paper.
The color of the paper impacts the ink. When using a kraft or specialty wrap that has color to it, it will tint anything printed on it. So make sure you find out how your colors will turn out on that particular paper.
Brand colors require a reference. If you are using a Pantone color, then give the code for it as well as ask for a match. The only true test will be a sample.
Dark wraps require caution. When printing dark areas of black or navy, it needs to be spot on because an off value will not print correctly.
Print Methods and Finishes We Offer
We offer full-color printing on the wrap paper, and you can add these print finishes on top:
| Finish | What it does | Good use |
|---|---|---|
| Foil stamping | Metallic layer in gold, rose gold, or silver | Logos, borders, short text |
| Embossing | Raises part of the design | Logos, monograms |
| Debossing | Presses part of the design into the surface | Subtle logos, patterns |
| Spot UV | Glossy coating on selected areas | Contrast on matte wraps |
| Matte, gloss, or soft-touch | Covers the whole surface | Sets the overall feel |
For example, when comparing vendors, you will notice the names of processes such as offset or digital printing. These are common industry terminology, and the proper one for you depends on your task, so ask your vendor about your process and why it is so.
To find out more details regarding foiling, embossing and other finishes, please visit our guide on Luxury Packaging Finishes: Matte, Gloss, Foil and Embossing.
Choose the Right Box Style for Your Artwork
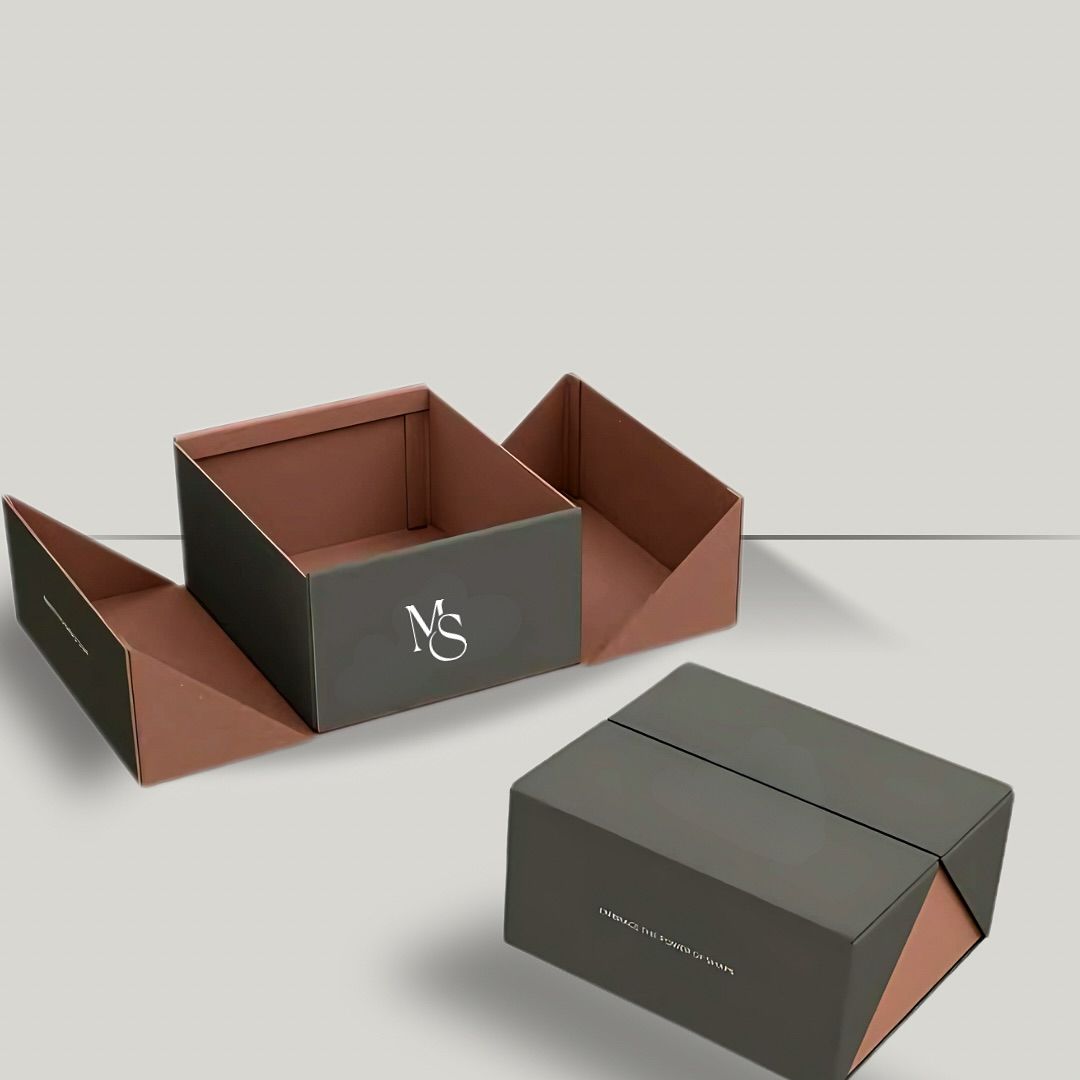
The structure decides how much flat space you have to print on. Two-piece lid-and-tray boxes give you a large lid panel and four side walls, making them ideal for designs that require extensive, full coverage graphics. With magnetic boxes, there is a seamless spine and front flap that allows for continuous graphics all around the box. Our guide on luxury unboxing experience design How to Design a Luxury Unboxing Experience with Rigid Boxes explores the role of print and structure in unboxing experience.
Review the Proof Carefully
All orders have a proof or sample approval process prior to manufacturing. Ensure that:
- All words are spelled correctly, including small texts.
- Logos are in their correct places and unfold all folds.
- Finishing elements (foil, spot UV, embossing) cover appropriate parts.
- Colors correspond to your reference taking into account that monitors can differ.
- Barcodes or QR codes are big enough for scanning.
A typical printing order usually takes 7 to 10 business days after the proof is approved, hence the prompt and careful check of your order.
Custom Rigid Box Printing Checklist
Before making a quote request, please provide:
- Style and dimensions of box to be made
- Company logo in vector format and color codes if any
- Artwork designed on correct dieline with bleed
- Finished parts on individual layers marked accordingly
- Choice of wrap paper (coated, textured, or specialty)
- Interior printing specifications, if required
You can also browse our full range of custom rigid box printing options by box style.
Frequently Asked Questions
What file format is best for rigid box artwork?
The best way is by providing us with either a print-ready PDF or a file created using Adobe Illustrator (AI), which contains vector logos. The image inside the file must be 300 dpi in its final form and the text in the file must be converted into outlines. We examine all files for free, and we make sure that everything that needs correction is done before designing your proof.
Can you match my exact brand colors?
It all depends on the material you choose for the wraps. You have to provide us with the Pantone code for the color, or send us an actual reference of the color. This will allow us to let you know just how close it can be matched on your selected paper.
Can I print on the inside of a rigid box?
One other request that is frequently made is interior printing, be it a design, a message or a logo inside the lid. Let us know of this at the time you make the request so that we may determine whether this will be possible for your box style. The interior printing should be designed to work together with the exterior printing.
Do I see a proof before production starts?
Yes. It is required that proof approval take place on all orders before the production process begins. Take special care of your spelling, logo positioning, finishing area and colors at this point.
Get Your Artwork Reviewed
Provide us with the size of your box along with your existing artwork, which need not be finalized at all. We’ll review your files and create a proof for you to approve.
Request a quote to start your custom rigid box printing project.